Looking to cut acrylic plastic sheets smoothly and accurately? This comprehensive guide equips you with the knowledge to choose the right tools and techniques for flawless results.
From mechanical and laser cutting to waterjet and thermal methods, we explore each approach in detail, helping you select the optimal method based on the acrylic sheet’s thickness and type.
Discover how to achieve clean cuts while avoiding common issues like rough edges and cracks, ensuring professional-quality outcomes for your projects.
Basic Properties Of Acrylic Sheet
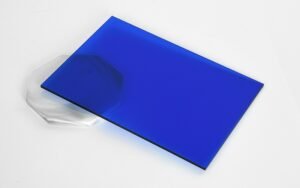
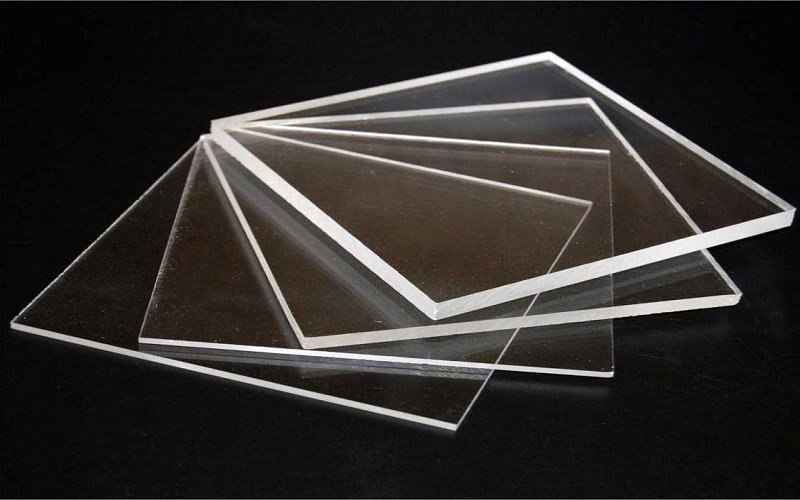
Acrylic sheets, also known as plexiglass or PMMA, are a form of thermoplastic made from polymethyl methacrylate. They are renowned for their high transparency, boasting a light transmittance rate of up to 92%, which is comparable to glass but at half the weight. This makes acrylic an excellent choice for optical applications and decorative uses where clarity is paramount.
In addition to their transparency, acrylic sheets are highly impact-resistant, making them safer and less prone to shattering compared to glass.
They also exhibit excellent weather resistance, maintaining their properties and appearance even under prolonged exposure to UV light and varying climatic conditions. Acrylic sheeting is a versatile option for various applications.
The material’s surface hardness is akin to aluminum, which means it can be scratched but can also be polished to restore its shine. Acrylics are thermoplastic, starting to soften at around 100°C and becoming moldable above 160°C, although excessive heat can lead to decomposition or bubbling.
Methods For Cutting Acrylic Sheets
Cutting acrylic sheets requires selecting the appropriate method based on project needs, as each technique—mechanical, laser, waterjet, and thermal cutting—offers distinct advantages, limitations, and ideal applications.
Understanding these methods ensures optimal results in terms of precision, edge quality, and efficiency.
Mechanical Cutting
Mechanical cutting involves using physical tools such as band saws, circular saws, or jigsaws to slice through acrylic sheets. This method is quite popular for its simplicity and cost-effectiveness, especially for DIY projects and straightforward industrial applications.
The process relies on sharp, high-speed blades to shear the material, making it suitable for straight cuts and thicker sheets. However, one must be cautious as mechanical cutting can result in rough edges or micro-cracks that require additional polishing. When supporting the acrylic sheet during cutting, placing a piece of wood underneath can help stabilize it and prevent chipping.
Precision cutting of acrylic requires a plastic cutting blade. Different saws are suitable for various types of cuts:
- Circular saws with an acrylic blade offer smooth, straight cuts when used properly with a new blade. It is important to choose a saw blade with a high tooth count, preferably designed for plastics, to achieve a clean, straight cut.
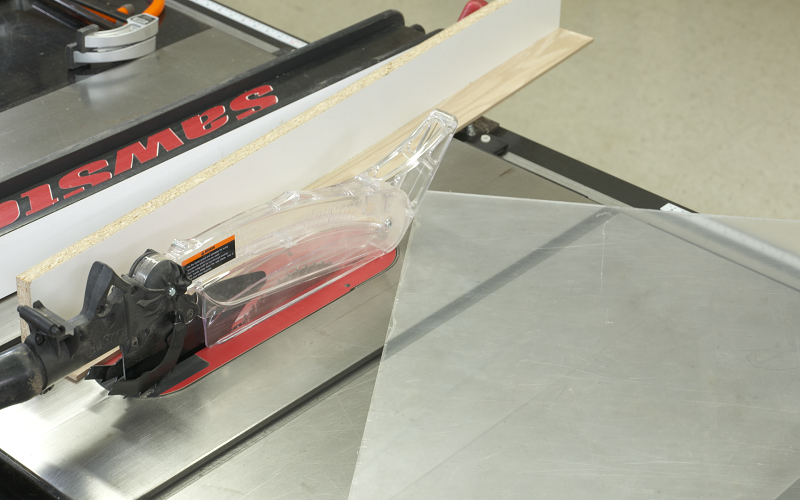
- Table saws are suitable for long, straight cuts.
- Jigsaws can handle curved cuts with greater finesse. When using a jigsaw, selecting the right blade—preferably one designed for plastics—ensures smooth, precise cuts, and proper technique is essential for intricate shapes.
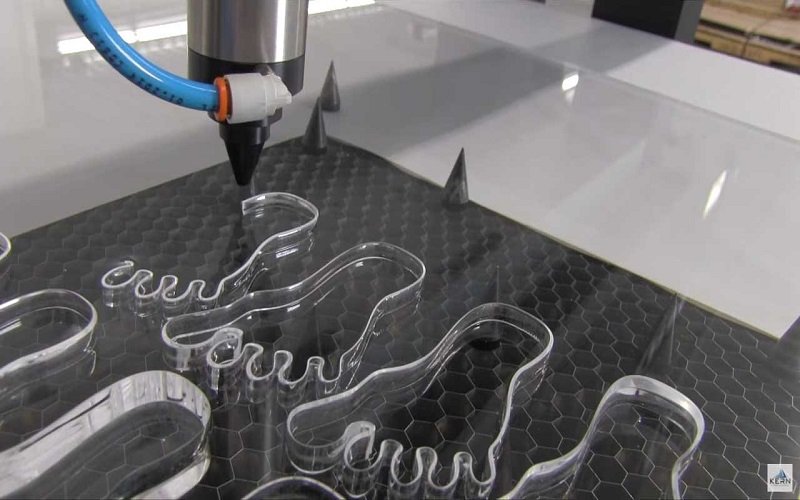
Laser Cutting
Laser cutting uses a high-energy beam focused on the acrylic surface to melt or vaporize the material, with gas blowing away the residue for a smooth cut. Known for its speed and precision, this method produces clean, smooth edges without further finishing, excels in creating complex patterns and fine details, and is ideal for high-transparency applications and batch production.
However, laser cutting has drawbacks such as high equipment and maintenance costs, reduced efficiency for cutting thick sheets over 20mm due to thermal impacts causing edge discoloration or stress concentration, and the release of irritating gases requiring proper ventilation for safety.
Waterjet Cutting
Waterjet cutting employs a high-pressure stream of water mixed with abrasives like garnet to erode the acrylic along the desired path. This cold-cutting process avoids thermal effects, making it ideal for heat-sensitive projects and particularly suitable for thick or multi-layered acrylic sheets.
Additionally, it is environmentally friendly, producing no harmful gases and generating manageable waste.
However, waterjet cutting is slower than laser cutting, which results in lower production efficiency, and the equipment and consumables, such as abrasives, can be costly. Regular maintenance is also required to ensure optimal performance.
Thermal Cutting
Thermal cutting heats a wire or blade to 150-200°C to melt through acrylic. Typically used for straight cuts in thin sheets, it’s popular for small DIY projects or crafting. Handheld hot knives or heated wires are commonly used tools.
Thermal cutting works for thin sheets under 5mm but poses challenges like melting marks or bubbles on the edges of paper and offers lower precision compared to other methods that lay emphasis on accuracy.
Controlling the heating temperature prevents material decomposition. Guides help maintain straight lines and minimize deformation, but proper ventilation is essential to manage irritating gases produced during the process.
Steps Of Acrylic Sheets Cutting Process
Cutting acrylic sheets involves a series of precise steps to ensure a clean, accurate, and safe cut. Here is a general workflow to follow:
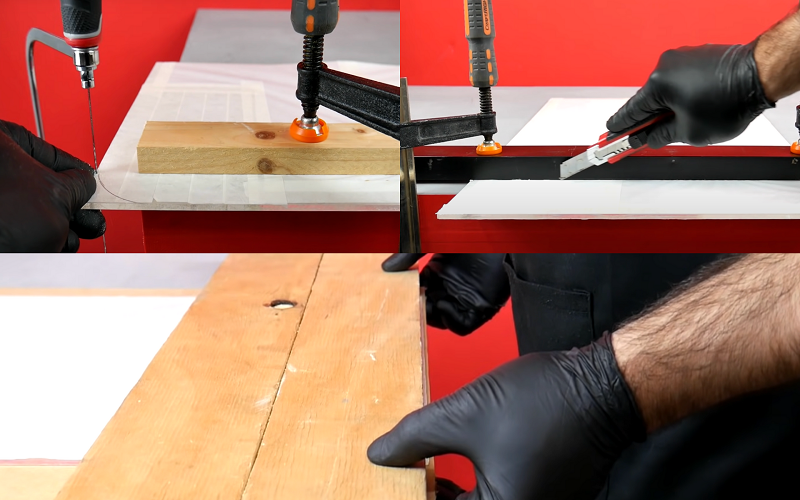
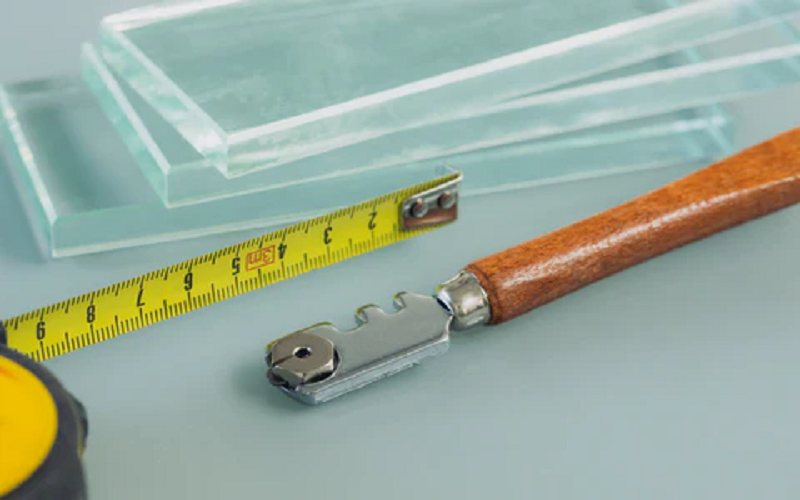
- Measure and Mark: Before you start, decide exactly where you want to cut to ensure accuracy and minimize waste. Begin by measuring the desired dimensions carefully using a tape measure or ruler. Mark the cut line clearly on the protective film covering the plastic sheet with a fine-tip permanent marker or grease pencil. If you want to cut a straight line, use a straight edge as a guide for a straight cut.
- Prepare the Work Area: Set up a stable work table with ample space and good lighting. Secure the acrylic sheet firmly using clamps to prevent movement during cutting, which can lead to uneven edges or cracks.
- Choose the Cutting Method: Select the appropriate cutting method based on the sheet thickness and complexity of the cut. For thin sheets, scoring and snapping may suffice; for thicker sheets, use power tools like circular saws with the right blade or laser cutting.
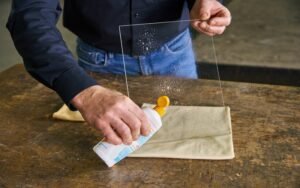
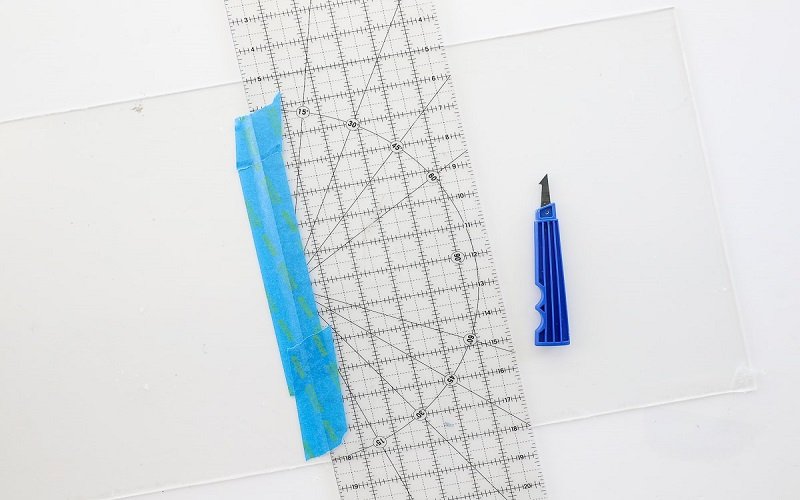
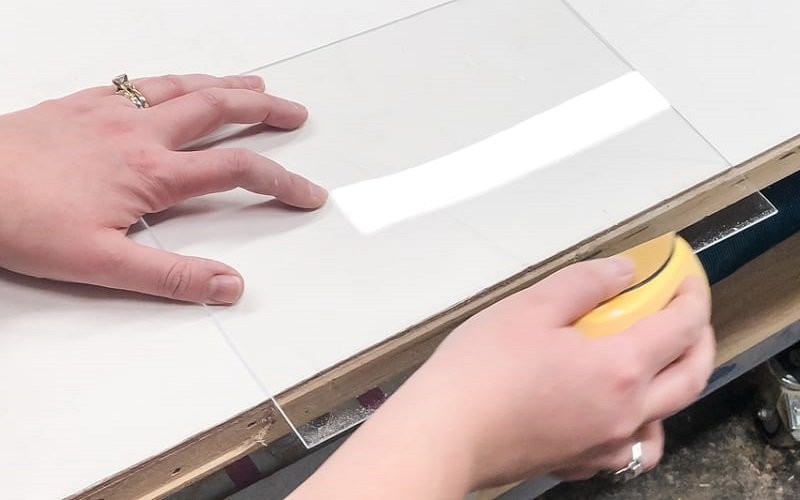
- Score the Acrylic: If using scoring, run a plastic cutting blade along the marked line multiple times to create a deep score line on one side of the sheet. Scoring deeply on one side of the acrylic ensures a clean break. Ensure consistent pressure and a steady hand to avoid jagged edges.
- Snap the Sheet: Align the scored line with the edge of the work table so the scored section is hanging off the edge. Apply firm, even pressure to snap the sheet cleanly along the score line.
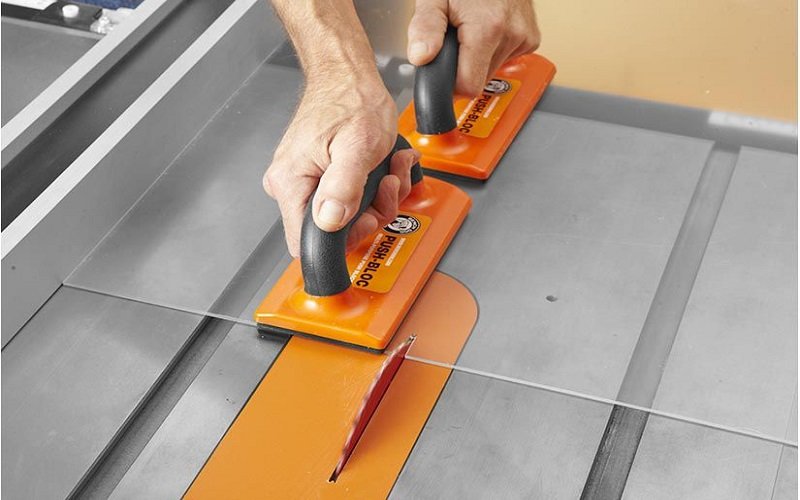
- Cut with Power Tools: When using saws, operate at a slow, steady speed to minimize heat buildup. Use blades with carbide tips designed for plastic to achieve perfect cuts and avoid chipping. Follow safety precautions such as wearing goggles and gloves.
- Smooth the Edges: After cutting, remove any burrs or rough edges by sanding with progressively finer grit sandpaper, starting around 180 grit and finishing with 600 grit or higher for a smooth finish.
- Clean the Sheet: Finally, clean the acrylic sheet with a soft cloth and mild detergent to remove dust and residue, revealing a clear, polished surface.
Following these steps carefully will help you achieve professional-quality results when cutting acrylic sheets.
Factors To Consider During The Acrylic Sheets Cutting Process
When cutting acrylic sheets, several factors are critical to achieving a high-quality finish and efficient process.
The material’s heat sensitivity must be carefully managed, as excessive heat from laser or thermal cutting can cause melting, deformation, or micro-cracks, necessitating precise temperature control to minimize the heat-affected zone (HAZ).
To preserve acrylic’s high transparency, smooth, burr-free edges are essential; while mechanical cutting often produces rough edges requiring post-processing like polishing, properly optimized laser cutting can yield a mirror-like finish.
Additionally, internal stresses from manufacturing can lead to cracks or chipped edges if cutting speed or pressure is mishandled. Safety is also paramount, as cutting acrylic releases irritating gases, requiring proper ventilation and strict adherence to safety protocols. When working with acrylic plastics, ensure adequate ventilation and use appropriate safety measures to avoid exposure to harmful fumes.
Requirements For Cutting Techniques Of Acrylic Sheets
Acrylic sheets come in different types and thicknesses, each requiring specific cutting techniques to achieve optimal results.
Extruded sheets, while more cost-effective, have higher internal stress, making them prone to cracking during cutting. Thus, they are better suited for less precise mechanical or thermal cutting, with reduced laser power to minimize stress release.
Thin acrylic sheets, ranging from 1 to 5mm in length, are relatively easy to cut and can be processed using laser or mechanical methods, with a small piece being a common outcome. However, speed control is vital to prevent overheating and deformation.
For medium-thick sheets (5-20mm), laser cutting remains efficient but may need multiple passes or high-power equipment. Waterjet cutting is ideal for avoiding thermal distortion. Thick sheets over 20mm are best cut using waterjet or saw cutting due to the significant thermal impact of laser cutting.
Choosing The Right Tools for Cutting Acrylic Sheets
Choosing the right cutting tools for acrylic sheets requires considering factors such as sheet thickness, complexity of shape, precision requirements, edge quality, budget, and production scale.
Below, we analyze four types of tools—circular saws, power saws, hand saws, and laser cutters—highlighting their suitable applications, advantages, disadvantages, and key selection points to help users make the best decision based on their needs.
Circular Saw
Circular saws are suitable for cutting thick acrylic sheets (>10mm) or medium thickness sheets (5-20mm) with straight cuts. They offer high efficiency and moderate cost, making them ideal for industrial or medium-to-large scale projects. Use plastic-specific fine-toothed saw blades (80-100 teeth), maintain low speeds (500-1000 rpm), and employ cooling to reduce chipping. However, edges typically require further sanding or polishing to achieve a professional finish.
Power Saw
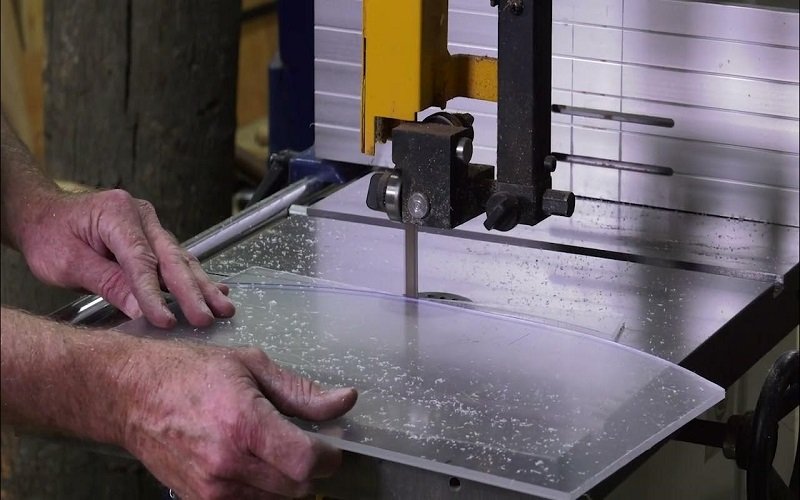
Power jigsaws or band saws are suitable for thin sheets (<10mm) or simple curved cuts in DIY and small-scale projects. They offer high flexibility and portability. Choose fine-toothed blades and control cutting speed to minimize cracking. Clamp the acrylic firmly and sand edges afterward. This option fits scenarios with limited budgets but requiring some flexibility.
Hand Saw
Hand saws or scoring tools are suitable for straight cuts on ultra-thin sheets (<3mm). They are extremely low-cost and ideal for environments without electricity or temporary DIY projects. Multiple scoring passes combined with a straightedge are necessary. Edge quality is relatively poor and requires sanding and polishing. This method suits beginners or simple tasks with low precision requirements.
Laser Cutter
Laser cutters are ideal for high-precision, complex shape cutting of acrylic sheets from 1 to 20mm thick. They produce smooth, mirror-like edges and are suitable for high-quality projects such as signage and artwork. Power (20-100W) and speed must be optimized, and ventilation systems are necessary to handle fumes. Although equipment costs are high and efficiency drops with thicker sheets, laser cutting is best for professional or batch production.
Common Problems And Solutions When Cutting Acrylic Sheets
Cutting acrylic sheets can present several challenges, such as burrs, cracks, and heat damage. Burrs or rough edges can occur when the cutting speed is too slow or the tool is dull. Adjusting the laser power and cutting speed, followed by sanding the edges, can remove imperfections.
Crack and chipping often result from the high internal stress of extruded sheets. Using cast sheets, annealing to release stress, and ensuring proper clamp can push snap to avoid chipping prevent this issue.
Burn marks or discoloration on the edges are typically caused by excessive heat during laser or thermal cutting. Reducing the cutting temperature and enhancing ventilation can minimize these effects.
Deformation can occur due to localized heating or uneven force during cutting. Controlling the laser power and cutting speed, along with using water cooling systems, reduces the risk of warping.
Safety Measures When Cutting Acrylic Sheets
Safety is paramount when cutting acrylic sheets. Select tools based on sheet thickness. For thinner sheets (3-5mm), hand tools like utility knives suffice, while thicker sheets require power tools or laser cutters.
Keeping tools sharp reduces resistance, minimizes heat generation, and helps avoid burrs and rough edges when you cut acrylic.
Accurate marking and measure ensure precision and consistency in cuts. Maintaining a stable cutting direction and moderate pressure prevents cracking and uneven edges. Protective gear, including safety glasses and gloves, protects against flying debris and dust.
A well-ventilated workspace helps prevent inhalation of harmful gases. Sanding the edges post-cutting removes burrs and smooths the acrylic.
Acrylic Sheets Cutting Practical Cases
Practical cases of cutting acrylic sheets highlight various methods and techniques suitable for different thicknesses and requirements. Each job may require different tools and techniques depending on the thickness and shape of the acrylic sheet.
For example, using a laser cutter for a 6mm thick acrylic sheet involves setting the cutting speed to 5mm/s and power between 65-70%, ensuring a smooth and polished finish without using auxiliary gas. This method achieves high precision in complex designs.
For thinner sheets under 3mm, a utility knife can be effective. After marking the cut line, repeatedly score the acrylic until it can be snapped. This method requires patience and steady hands for clean edges.
For cutting thicker acrylic sheets or complex shapes, using a circular saw equipped with a plastic-specific cutting blade ensures both efficiency and precision.
Maintaining a steady cutting speed is crucial to prevent chipping or melting, allowing for clean and consistent cuts. After cutting, use fine sandpaper (e.g., 600-1200 grit) to smooth the edges, achieving a professional finish that enhances the overall quality of the project.
Summary
In summary, cutting acrylic sheets effectively requires understanding the material’s properties, selecting the right tools, and employing suitable cutting techniques.
Whether you’re using hand tools for thin sheets or advanced mechanical equipment for complex designs, each method has its unique advantages and challenges. With the knowledge provided in this guide, you can achieve clean, precise cuts and bring your projects to life with confidence.