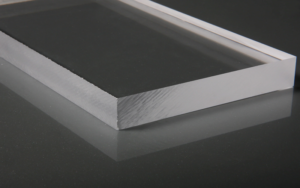
Painting on acrylic sheets opens up a world of creative possibilities for artists seeking a unique and versatile medium. Painting on acrylic sheets, often called plexiglass sheets, is a rewarding DIY project perfect for creating unique décor and personalised gifts.
Unlike traditional canvases, acrylic sheets offer exceptional durability, crystal-clear transparency, and a smooth surface that enhances vibrant colors and innovative techniques.
Whether you’re a seasoned artist or a beginner, this modern material allows for stunning effects like reverse painting, layered compositions, and light-enhanced displays, making it ideal for creating unique décor and personalised gifts through DIY painting projects.
In this guide, we’ll walk you through the essential steps, materials, and techniques to successfully paint on acrylic sheets, empowering you to create captivating artwork with confidence and flair.
Why Paint On Acrylic Sheet?
Painting on acrylic sheets called plexiglass sheets offer unique advantages:
- Lightweight and shatter-resistant, unlike glass acrylic sheets, making them ideal for long-lasting artwork or installations. Additionally, plastic that’s lightweight shatter adds to their durability.
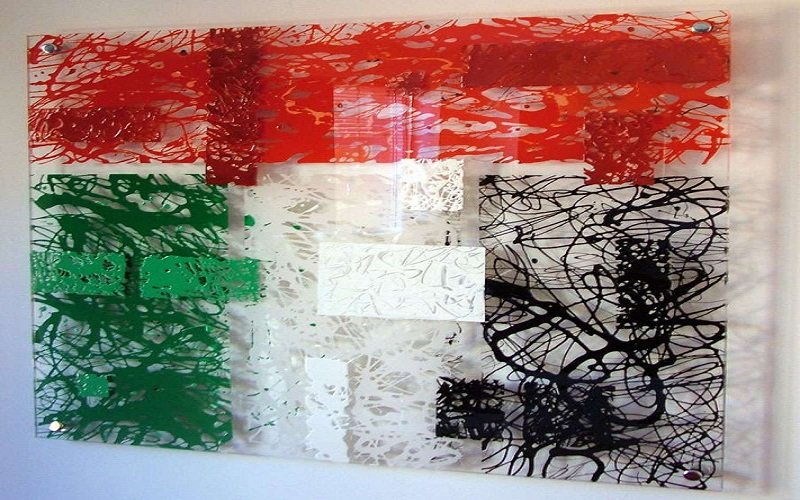
- Transparency allows for creative techniques such as reverse painting, where you paint on the back of the sheet to achieve a glossy front finish.
- Enables layering colors and incorporating light effects.
- Suitable for creating outdoor art that withstands weather conditions.
These properties make acrylic sheets an excellent choice for projects that require a durable and visually appealing material.
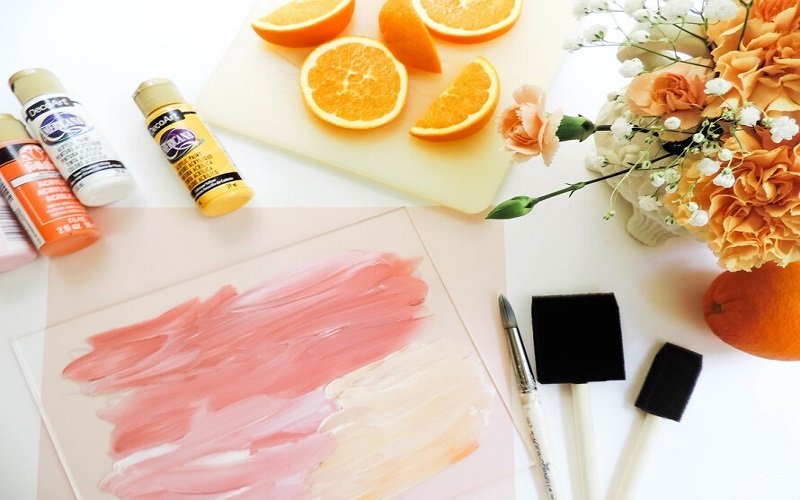
Essential Tools And Materials For Painting On Acrylic Sheets
Embarking on your acrylic painting journey requires the right tools and materials. To paint acrylic sheet effectively, it is essential to use tools and materials specifically designed for this purpose. Here’s a beginners guide to painting on acrylic sheets effectively.
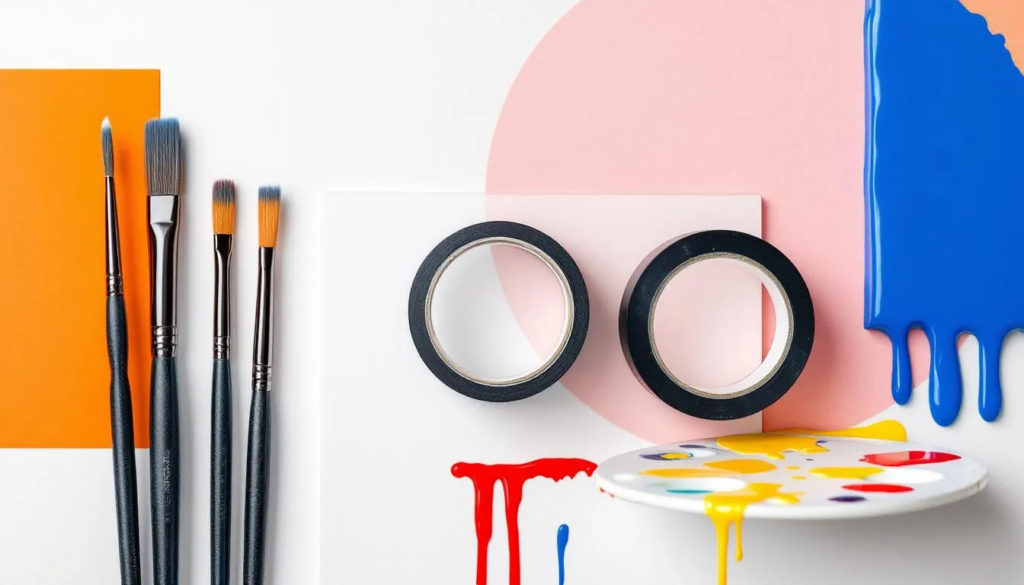
First, gather a variety of brushes:
Synthetic brushes, which are ideal for acrylic paints
- Natural bristles, which work well with oil paints
- A range of brush sizes—flat, round, and filbert—to give you versatility in your strokes and details.
Additionally, palette knives are useful for applying thick layers, creating textures, or mixing paints. Both metal and plastic knives can be used depending on the effect you’re aiming for and ease of cleaning.
Good quality painter’s tape is crucial. Here are some essential tools and materials for painting:
- Low-tack masking tape: perfect for creating clean edges, patterns, or protecting unpainted areas.
- A roller: helps achieve a uniform finish when applying paint.
- Fine-grit sandpaper (400-600 grit): essential for lightly sanding the surface to improve paint adhesion, along with brushes and masking tape to create.
With these essential tools and materials, you’ll be well-equipped to start your acrylic sheet painting project with confidence.
Preparing The Acrylic Sheet
Proper preparation is key to ensuring your paint adheres well and your finished piece looks professional. Before you start painting on acrylic sheets, make sure the entire surface of the acrylic sheet is prepped, clean, slightly rough, and primed.
This process involves three crucial steps: cleaning the sheet surface, sanding the surface, and applying a primer.
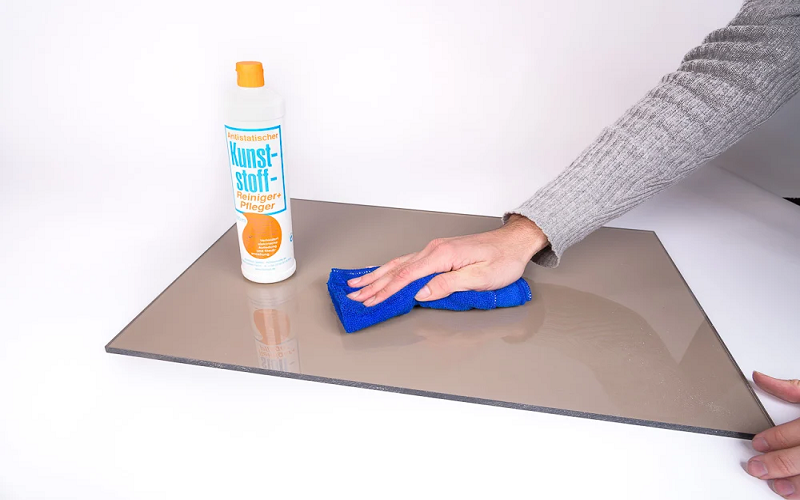
Cleaning the Sheet Surface
Start by cleaning the sheet surface thoroughly with soft cloth and soapy water to remove any dust, dirt, and oils that could hinder paint adhesion. Once cleaned, use a lint-free cloth to dry the acrylic sheet completely, as leaving fibers can interfere with the painting process.
For a more thorough clean, use a mixture of 25% denatured alcohol and distilled water to ensure the surface is pristine. This step effectively prepares the acrylic sheet for the next stages.
Sanding the Surface
Sanding the surface of the acrylic sheet using fine grit sandpaper creates a slightly rough texture that helps paint adhere better. Using fine grit sandpaper, such as 400-600 grit, lightly sand the surface in a single direction to ensure a consistent texture across the sheet.
This step not only improves paint adhesion but also enhances the longevity and quality of your paint finish.
Priming the Acrylic Sheet
Applying a primer is the final step in preparing the acrylic sheet. Follow these steps:
- A spray primer designed for plastic surfaces helps paint adhere better to the sheet.
- Apply the primer in even, overlapping coats.
- Allow the primer to dry completely before proceeding with painting.
Priming creates a rough and porous surface that enhances the paint’s ability to stick to the acrylic sheet, ensuring a durable and visually appealing finish. If the surface isn’t perfectly smooth, multiple thin layers of primer may be necessary, with each layer fully drying before the next is applied.
Choosing The Right Acrylic Sheets Painting Technique
Selecting the right painting techniques is crucial for achieving the desired effect on your acrylic sheet. The process of painting acrylic can be approached as a step-by-step guide that covers selecting the right materials and mastering various painting techniques, highlighting the versatility and practical applications of acrylic sheets for DIY projects and artwork.
The most common techniques include direct painting, spray painting, and reverse painting. Each method has its own set of benefits and can be chosen based on the specific requirements of your project.
When introducing spray painting, consider using solid colour spray paint to cover large areas with an even, uniform finish. Proper application techniques, such as maintaining the correct distance and applying multiple coats, are essential for optimal results.
Start by listing some forbidden forms of the keyword “cover the sheet evenly” according to the rule 5. Whether you’re aiming for smooth, even coverage or intricate details, understanding these techniques will help you cover the sheet evenly when painting acrylic sheets effectively.
Direct Painting
Direct painting on acrylic sheets involves applying thin layers of acrylic paint directly onto the surface, using acrylic paints layering different colours to achieve smooth blending and transitions. This straightforward process allows for smooth coverage and vibrant colors. Use water-based paint for acrylic sheets on a latex base or acrylic lacquer for solid colour applications when painting acrylic sheet.
Paint in thin layers and allow each layer to dry completely before adding more to avoid smudging and ensure a professional finish. A flat synthetic brush can help achieve smooth strokes and even application, allowing you to layer or blend colours effectively. Blending and layering colours can create depth in your artwork.
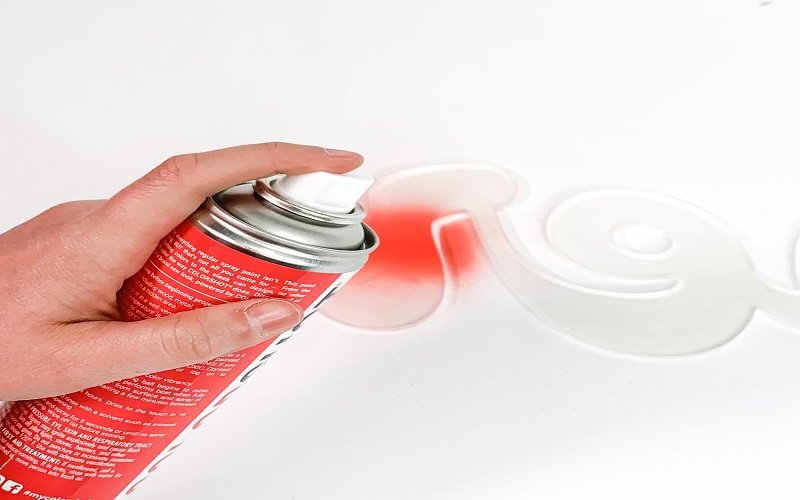
Spray Painting
Spray painting is another effective technique for painting on acrylic sheets. Using sweeping motions to cover and maintaining a consistent speed while spraying helps ensure even coverage and avoids drips and uneven coverage.
Keep a distance of about 12 inches from the surface to prevent uneven coverage and achieve a uniform paint layer. This method is particularly useful for large areas and achieving a smooth, solid color finish.
Reverse Painting
Reverse painting on clear acrylic sheets is a technique that involves painting on the back of the sheet to achieve a glossy front finish. This method requires a careful approach, starting with fine details before progressing to larger areas. Clear acrylic sheet reverse painting is a popular choice for achieving vibrant artwork.
The technique not only enhances visual appeal but also protects the paint; this technique protects the paint by having the painting acrylic sheet covering everything. This method is ideal for creating intricate designs and ensuring a durable and visually striking artwork.
Creative Ideas For Acrylic Sheet Projects
Acrylic sheets offer endless opportunities for creative expression, making them perfect for a variety of unique projects. Consider transforming clear acrylic sheets into custom wall art, decorative panels, or even personalized room dividers that add a modern touch to any space.
For thoughtful, one-of-a-kind gifts, try making custom nameplates, photo frames, or decorative trays—each piece can be tailored to suit the recipient’s style.
If you’re interested in more advanced techniques, landscape painting on acrylic is a rewarding challenge. By layering and blending different colors, you can create depth and dimension that brings your scenes to life.
Acrylic sheets are also ideal for projects that mimic the look of glass, such as giving a plastic table a sleek, glass-like finish. With the right approach, you can use acrylic sheets to create décor and gifts that are both beautiful and durable, making every project a rewarding DIY experience.
Sealing and Finishing Of Painting Acrylic Sheet
Once your painting is complete, sealing and finishing the artwork is essential to protect it from damage and fading. This step ensures your painted acrylic sheets remain vibrant and durable over time.
The process involves applying a clear coat and adding final touches to enhance the overall presentation of your artwork.
Applying a Clear Coat
To protect your painted acrylic sheet, use a clear coat or spray sealer. This layer shields the paint from scratches and UV damage, ensuring longevity. For optimal protection, consider finishing with a polyurethane-based clear topcoat, especially for outdoor projects.
You have the option to select either a matte or glossy sealer. Your choice will depend on the finish you want to achieve.
Adding Final Touches
Enhance the stability and visual appeal of your artwork by framing it or using a backing material like wood. This not only adds structural integrity but also improves the overall presentation, making your piece stand out as a polished and professional work of art.
Common Mistakes When Painting on Acrylic Sheets
Even experienced artists can make mistakes when painting on acrylic sheets. Understanding common pitfalls and how to avoid them can save you time and frustration.
This section covers preventing smudges, avoiding cracks, and correcting errors to ensure your artwork turns out beautifully.
Preventing Smudges
One of the most common mistakes is smudging the paint. To prevent this, it’s crucial to let each paint layer dry completely before adding another. Waiting until the first layer is fully dry ensures proper adhesion and a smooth finish, helping you paint acrylic sheets effectively.
Avoiding Cracks
Cracks can ruin an otherwise perfect painting. To avoid this, apply thin coats of paint and let each layer dry thoroughly before paints layering different colours.
Additionally, avoid rapid temperature changes during the painting process, as this can cause the paint layers to crack.
Correcting Errors
If you notice an error while the paint is still wet, use rubbing alcohol to gently remove the unwanted paint.If you make mistakes on dried paint, lightly sand the area.After sanding, repaint the surface.
This approach allows you to correct and refine your artwork, ensuring a flawless finish.
Summary
Painting on acrylic sheets is a rewarding and creative process that offers endless possibilities for artists. By understanding the benefits of acrylic sheets, gathering the right tools and materials, and following proper preparation and painting techniques, you can create stunning works of art.
Remember to seal and finish your artwork to protect it, avoid common mistakes, and always prioritize safety. With these tips and techniques, you’re well on your way to mastering the art of painting on acrylic sheets. Let your creativity flow and enjoy the journey of transforming clear acrylic into vibrant masterpieces.